
Unity Agregar el volante a nuestro coche
Aquí vamos a poner un volante a nuestro coche
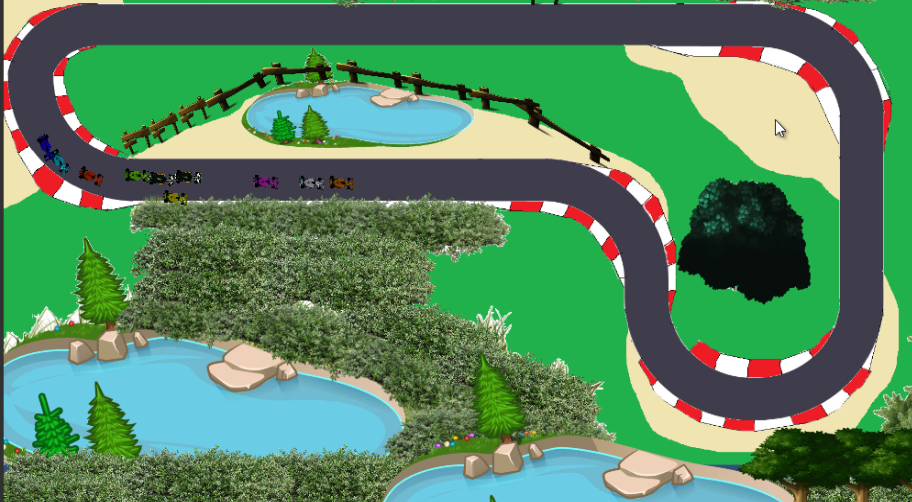
Aquí tenemos nuestro coche, lo sigo controlando con las flechas del teclado. Ahora vamos a crear un Canvas
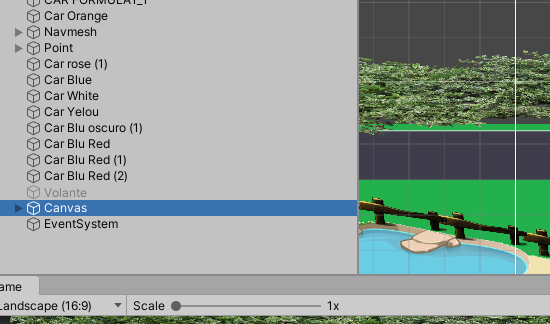
en Canvas agregamos una imagen
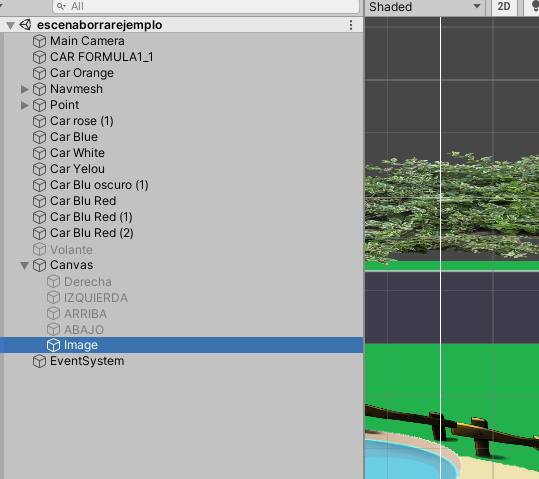
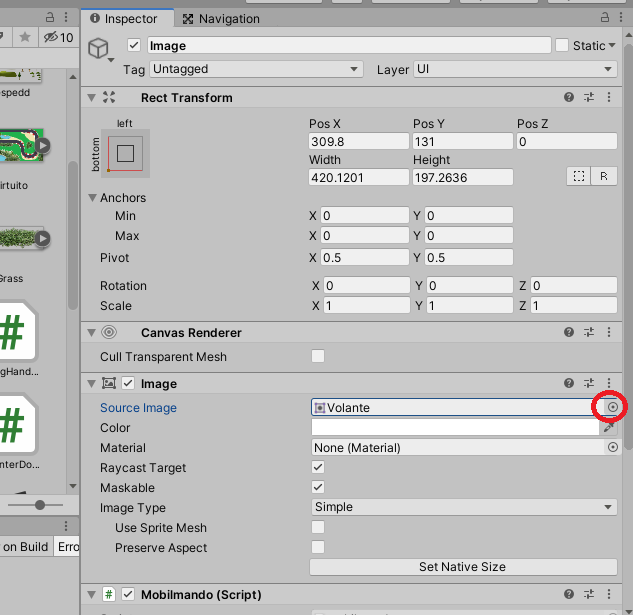
Ahora agregaremos la imagen
Ya tenemos agregada la imagen ahora en la imagen vamos agregar un script al que llamaremos mobilemando.
using System.Collections;
using System.Collections.Generic;
using UnityEngine;
using UnityEngine.EventSystems;


public class mobilmando : MonoBehaviour , IPointerDownHandler, IDragHandler, IPointerUpHandler{

    //use for find the image center point
    private bool Wheelbeingheld = false;
    public RectTransform Wheel;
    private float WheelAngle = 0f;
    private float LastWheelAngle = 0f;
    private Vector2 center;
    public float MaxSteerAngle = 200f;
    public float ReleaseSpeed = 300f;
    public float OutPut;
    public moivmientodelcoche2 Car;
    void Update()
    {
        if (!Wheelbeingheld && WheelAngle != 0f)
        {
            float DeltaAngle = ReleaseSpeed * Time.deltaTime;
            if (Mathf.Abs(DeltaAngle) > Mathf.Abs(WheelAngle))
                WheelAngle = 0f;
            else if (WheelAngle > 0f)
                WheelAngle -= DeltaAngle;
            else
                WheelAngle += DeltaAngle;
        }
        Wheel.localEulerAngles = new Vector3(0, 0, -MaxSteerAngle * OutPut);
        OutPut = WheelAngle / MaxSteerAngle;
        Car.Androidtelefono = OutPut;
    }
    public void OnPointerDown(PointerEventData data)
    {
        Wheelbeingheld = true;
        center = RectTransformUtility.WorldToScreenPoint(data.pressEventCamera, Wheel.position);
        LastWheelAngle = Vector2.Angle(Vector2.up, data.position - center);
    }
    public void OnDrag(PointerEventData data)
    {
        float NewAngle = Vector2.Angle(Vector2.up, data.position - center);
        if ((data.position - center).sqrMagnitude >= 400)
        {
            if (data.position.x > center.x)
                WheelAngle += NewAngle - LastWheelAngle;
            else
                WheelAngle -= NewAngle - LastWheelAngle;
        }
        WheelAngle = Mathf.Clamp(WheelAngle, -MaxSteerAngle, MaxSteerAngle);
        LastWheelAngle = NewAngle;
    }
    public void OnPointerUp(PointerEventData data)
    {
        OnDrag(data);
        Wheelbeingheld = false;
    }
}
Este seria el script que tendríamos que incorporar al mando
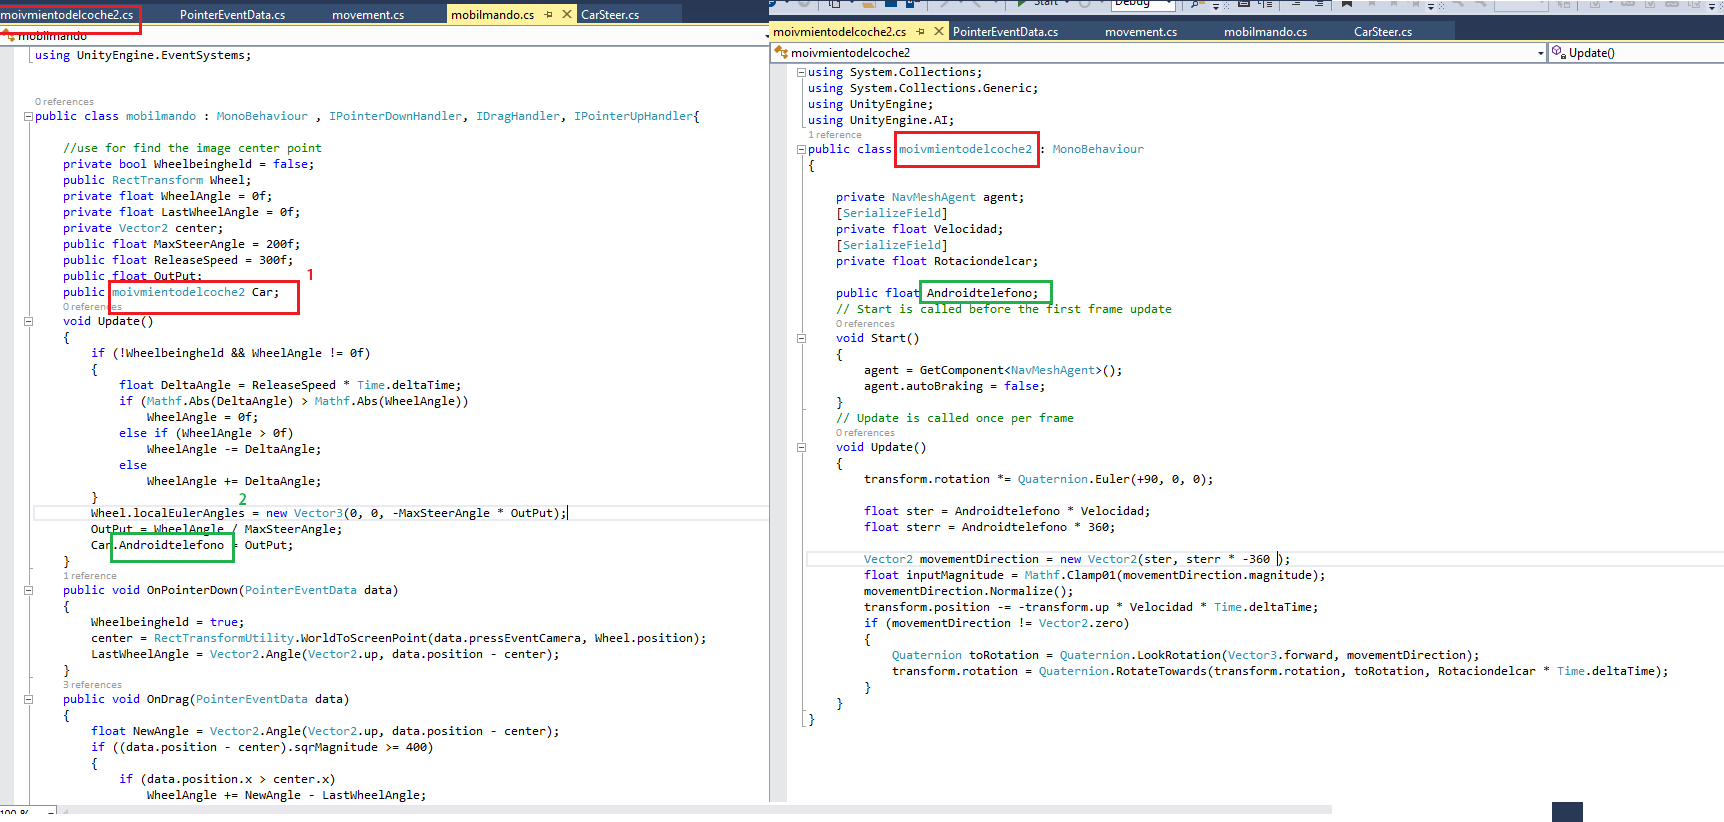
en la primera imagen tenemos el Script que hemos creado del mando, en la segunda el script de nuestro coche como lo tengo yo
using System.Collections;
using System.Collections.Generic;
using UnityEngine;
using UnityEngine.AI;
public class moivmientodelcoche2 : MonoBehaviour
{

    private NavMeshAgent agent;
    [SerializeField]
    private float Velocidad;
    [SerializeField]
    private float Rotaciondelcar;

    public float Androidtelefono;
    // Start is called before the first frame update
    void Start()
    {
        agent = GetComponent<NavMeshAgent>();
        agent.autoBraking = false;
    }
    // Update is called once per frame
    void Update()
    {
        transform.rotation *= Quaternion.Euler(+90, 0, 0);

        float ster = Androidtelefono * Velocidad;
        float sterr = Androidtelefono * 360;

        Vector2 movementDirection = new Vector2(ster, sterr * -360 );
        float inputMagnitude = Mathf.Clamp01(movementDirection.magnitude);
        movementDirection.Normalize();
        transform.position -= -transform.up * Velocidad * Time.deltaTime;
        if (movementDirection != Vector2.zero)
        {
            Quaternion toRotation = Quaternion.LookRotation(Vector3.forward, movementDirection);
            transform.rotation = Quaternion.RotateTowards(transform.rotation, toRotation, Rotaciondelcar * Time.deltaTime);
        }
    }
}


thanks.
ello colleagues, ow is al, and whate you wish for to say aboute this article, in my view
its genuinely awesome in favor of me.